Start with a wide rectangular foundation and add a smaller border to establish proper currency proportions. You'll want to position your oval center portrait using precise ruler measurements for accuracy. Vary your line weights strategically – use heavier strokes for main contours and lighter ones for internal details. Master your shading technique by identifying light sources first, then applying gradual hatching and cross-hatching patterns. Keep negative spaces balanced by protecting white areas while building depth with consistent shading. Don't forget to incorporate security elements like watermarks and color-shifting numerals. These fundamentals will set you up for more advanced currency illustration techniques.
Key Takeaways
- Start with a basic rectangular frame and add a smaller inner border to establish accurate currency proportions.
- Vary line weights strategically, using thicker strokes for main contours and thinner lines for intricate details.
- Master hatching techniques and gradient shading to create depth and dimension in currency symbols.
- Balance negative space around the symbol by carefully shading surrounding areas while maintaining clean white spaces.
- Position numerical elements at different heights within the design for visual interest and authentic appearance.
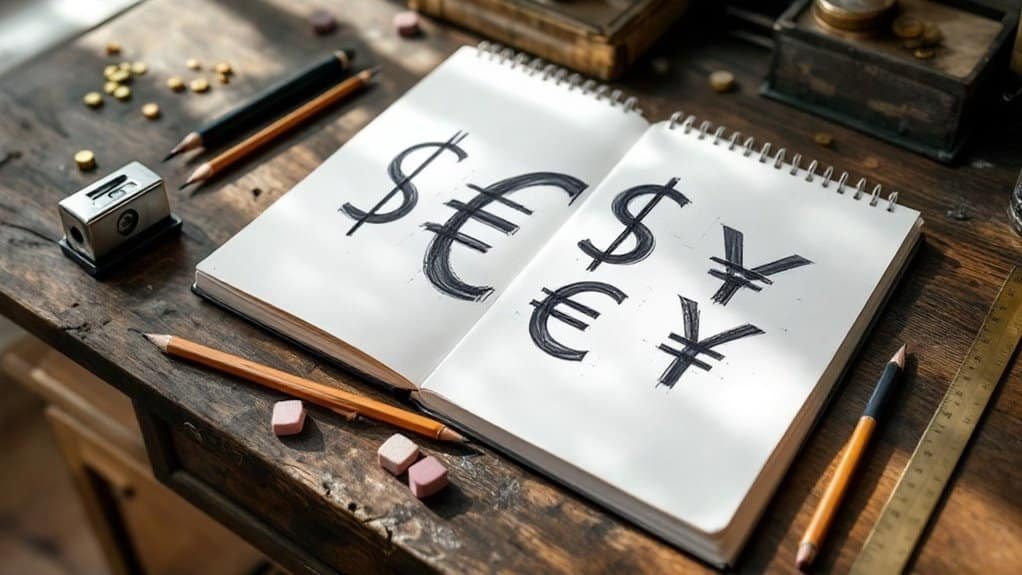
Master Basic Currency Shapes
Drawing realistic money symbols starts with mastering the foundational shapes of currency. Begin by sketching a wide rectangle near the paper's edge, maintaining proper currency proportions between height and width. You'll want to add a smaller rectangular border around the main body to define clear boundaries.
For shape accuracy, position an oval in the bill's center, leaving adequate space above for additional elements. This oval will serve as the foundation for the portrait, where you'll incorporate circles and curves to craft facial features. Using a ruler for precision will help ensure clean, straight lines throughout your drawing.
When adding numerical details, place "100" in each corner using precise straight lines and curves. Remember to vary the height of these numbers based on their location. You'll achieve professional results by ensuring all shapes are proportionate and carefully integrated into the overall design.
Perfect Your Line Weight
The mastery of line weight stands as an essential skill when illustrating currency symbols. When drawing money symbols, you'll want to vary your line weight strategically to create depth and visual hierarchy.
Start by selecting drawing tools that offer precise control over line thickness, such as technical pens with different nib sizes. These tools help you achieve dynamic sketching versatility.
Apply heavier lines to establish the main contours of your currency symbol, particularly where it faces away from your light source. You'll create more impact by using thicker lines for the symbol's primary shape and gradually lightening your touch for internal details.
Make lines thinner where they face the light, and thicker in opposing areas to suggest dimensionality. Remember to maintain consistent pressure control throughout your drawing, ensuring that your varying line weights work together to enhance the symbol's overall form and prominence.
Add Depth Through Shading
Building upon your mastery of line weight, shading brings currency symbols to life through carefully crafted depth and dimension. Start by identifying your light sources, as this will determine where your shadows and highlights fall across the dollar sign.
You'll want to begin with gentle, controlled strokes using lighter pencils like HB before progressing to darker options like 4B or 6B. Just as in balanced sound levels in music production, maintaining consistent pressure is crucial for even shading results.
Master essential shading techniques such as hatching and cross-hatching to create texture and form. When working on curves, use gradient shading to achieve a convincing 3D effect, paying special attention to shifts between light and dark areas.
Work on smooth paper for the most consistent results, and remember to blend your shades carefully. Add refined details and strategic highlights to make your symbol appear as if it's lifting off the page.
Balance Negative Space
Mastering negative space transforms ordinary currency symbols into striking designs that command attention. When drawing money symbols, you'll want to focus on the empty areas surrounding your main subject to create a more balanced visual composition.
Start by identifying and protecting the white spaces that define your currency symbol's shape. Instead of drawing the symbol directly, concentrate on shading the areas around it. This negative space technique forces you to observe the subject more carefully, resulting in improved accuracy and depth. For negative values, use minus signs or parentheses rather than relying solely on color to indicate negativity.
Establish your darkest tones first, then work toward mid-tones while preserving essential highlights. Pay attention to how your symbol interacts with the background, using negative space to create seamless shifts.
Remember to maintain consistent shading around the protected areas to guarantee your money symbol appears cohesive and professional.
Layer Security Elements Strategically

Security elements form the backbone of authentic currency design, extending beyond basic shapes and shadows.
When drawing money symbols, you'll need to master watermark design by incorporating faint images that mirror the bill's portrait, visible from both sides.
Apply color shifting techniques to specific numerals, ensuring they change appearance when tilted.
The enlarged off-center portraits help protect against counterfeiting while adding visual interest to modern currency designs.
Don't forget to include security thread elements, which glow in denomination-specific colors under UV light: pink for $100, yellow for $50, green for $20, orange for $10, and blue for $5.
Perfect your microprinting methods by adding tiny, hard-to-read text, and enhance high-denomination designs with 3D ribbon integration.
These interactive elements should showcase movement when tilted, such as bells and numbers shifting side to side or up and down.
Conclusion
Drawing money symbols requires both artistic finesse and technical precision. You'll need to balance delicate shading against bold defining lines, embrace negative space while maintaining intricate detail, and layer security elements without overwhelming your design. Whether you're sketching the iconic dollar sign or crafting complex currency marks, these techniques will transform your basic drawings into professional-grade financial symbols that command attention and respect.
Related currency posts:
 Sor Juana Ines De La Cruz Currency Guide
 Your Ultimate Guide to Belize Currency
 Chicago Currency Exchange: Top 10 Places to Convert Money
 Dubai Currency Guide: Understanding Money in the UAE
 Cambodia’s Riel: A Visitor’s Guide to Cambodian Money
 Las Vegas Currency Exchange: Strip to Downtown Money Guide
Interesting piece, but dont you think adding a segment on cultural variations of money symbols could broaden the appeal? Just a thought. Love the focus on shading though, often overlooked!
Im wondering if mastering basic currency shapes can truly enhance our ability to draw other complex shapes? Also, does adding depth through shading really apply to all currency symbols? Curious to know your thoughts, folks!
Isnt it funny how were mastering drawing money symbols, yet cant master making the real money itself? Oh, the irony!
Anyone else find shading to add depth harder than it sounds? Tips on making it look less like a smudge fest?
Surprised no ones mentioned this, but wouldnt it be helpful if the article also discussed color psychology in drawing money symbols?
Interesting read, but wouldnt adding colors make money symbols more recognizable than just focusing on shading? Just a thought.